
How to Lay A Liquid Epoxy Damp Proof Membrane
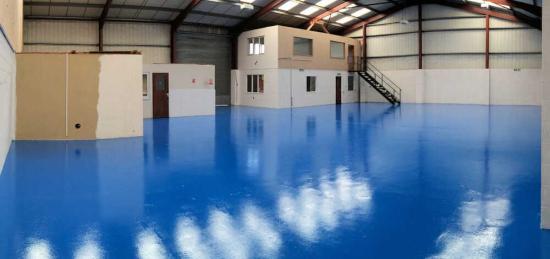
Concrete floors need to be protected from residual or constructional moisture, as well as rising damp. One of the easiest and most effective ways to do this is by installing an epoxy DPM. If you’ve got a garage or workshop, install an epoxy DPM for protection. This guide takes you through the preparation and application stages.
- How to prepare the surface before applying an epoxy DPM
- How to apply an epoxy DPM membrane
- What is a liquid epoxy DPM?
- How does the liquid epoxy membrane work?
- FAQs
What is a liquid epoxy DPM?
A liquid epoxy damp proof membrane (DPM) is a low odour epoxy resin coating applied to damp floors to create a barrier between the surface and the concrete slab below. Liquid epoxy DPMs are ideal for concrete floors, such as garages, where the original damp proof membrane is missing or has broken down.
Liquid epoxy DPMs are two-component systems that need to be mixed before use. They are a post-construction alternative to the plastic sheet DPMs that are applied during construction.
Standard epoxy DPM systems typically require at least two coats to form an effective barrier. Permagard’s PermaCOAT PRO One Coat Epoxy DPM requires just one, with a second coat only necessary if hygrometer readings exceed 98% RH.
How does the liquid epoxy membrane work?
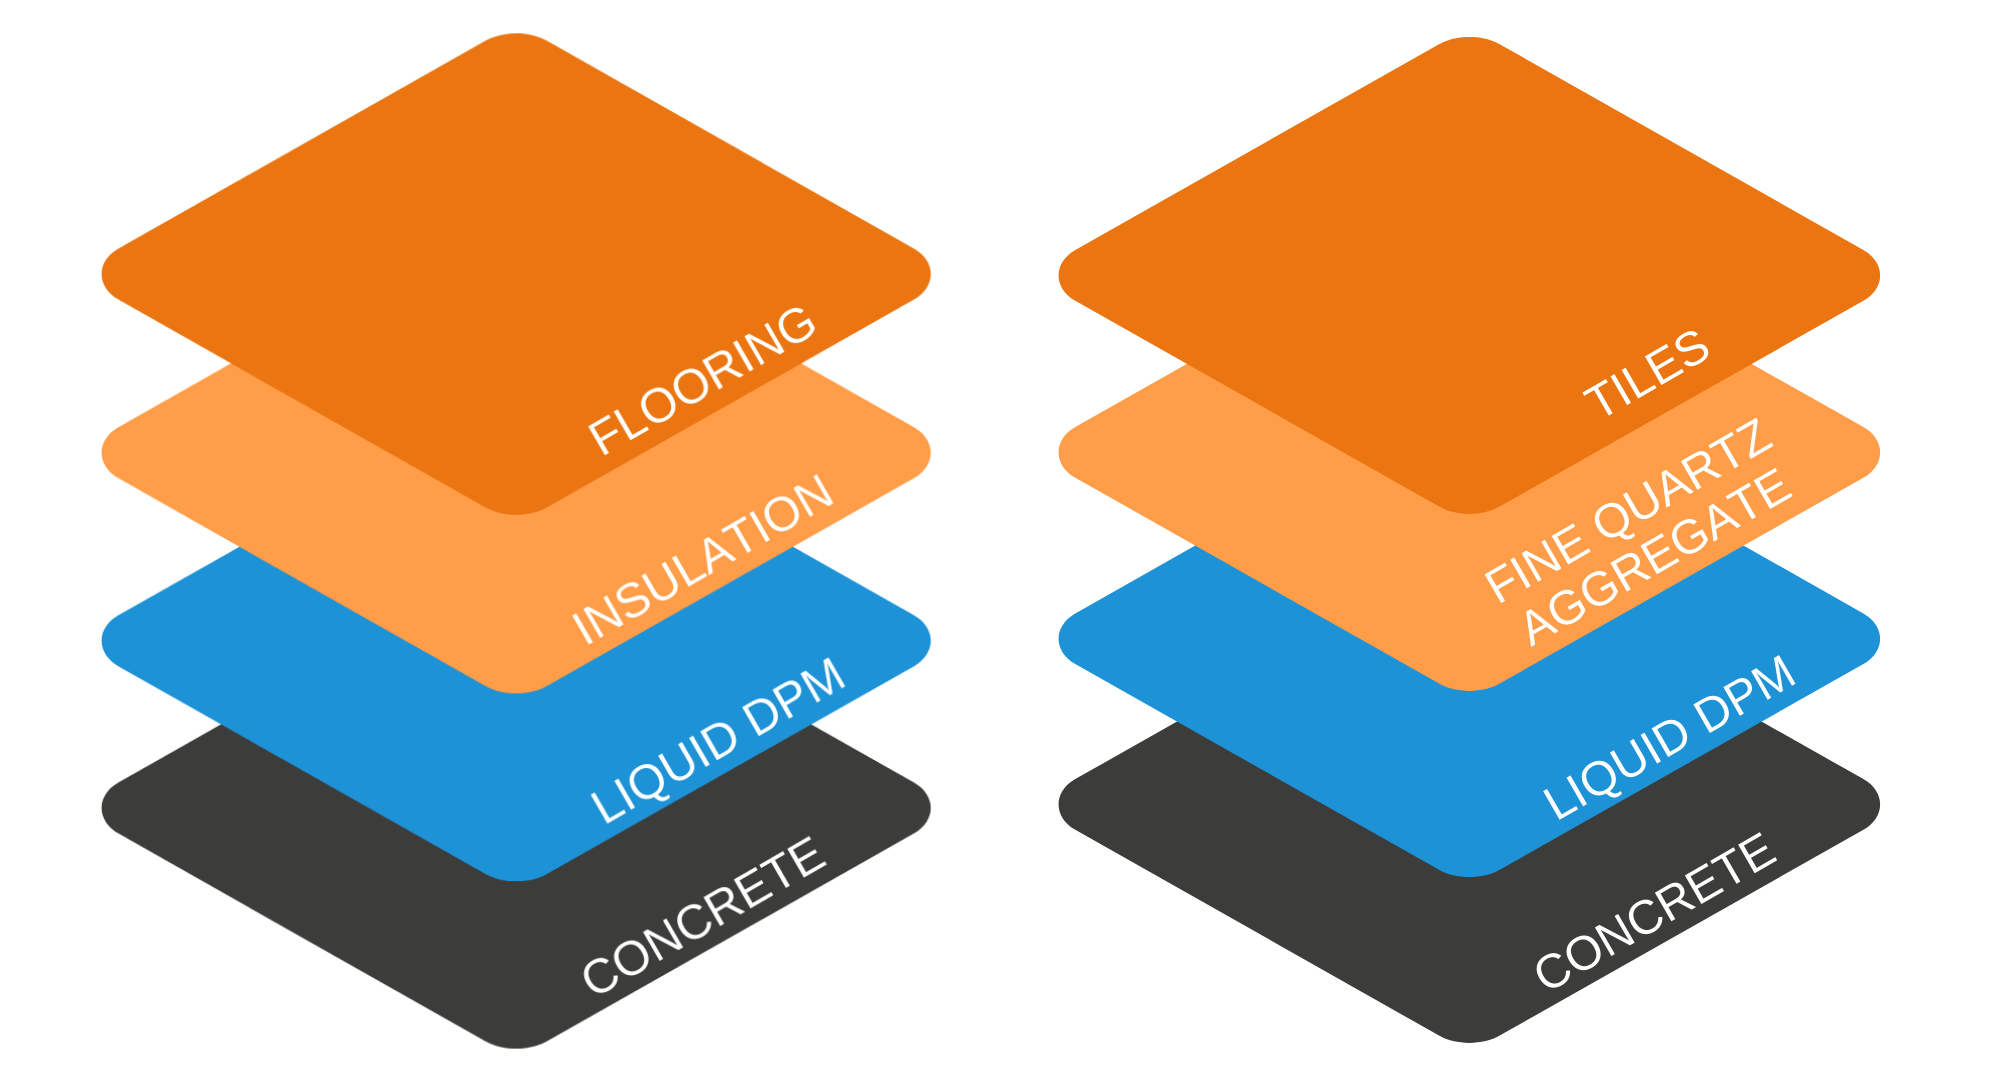
When applied to concrete floors and fine concrete screeds, the solvent-free liquid membrane chemically cures to form a continuous barrier that blocks liquid water ingress and significantly reduces the transmission of water vapour through the substrate.
The liquid membrane must only be used on concrete floors that are at least 50mm thick. For optimum results, the surface you want to damp proof must be of sufficient quality (no cracking or pits, loose material) and free from debris and residual contaminants to ensure you achieve an even coating.
Note that if there is no effective structural DPM beneath the slab, hydrostatic pressure should be considered. Applying a surface DPM can redirect moisture or pressure, potentially affecting surrounding areas.
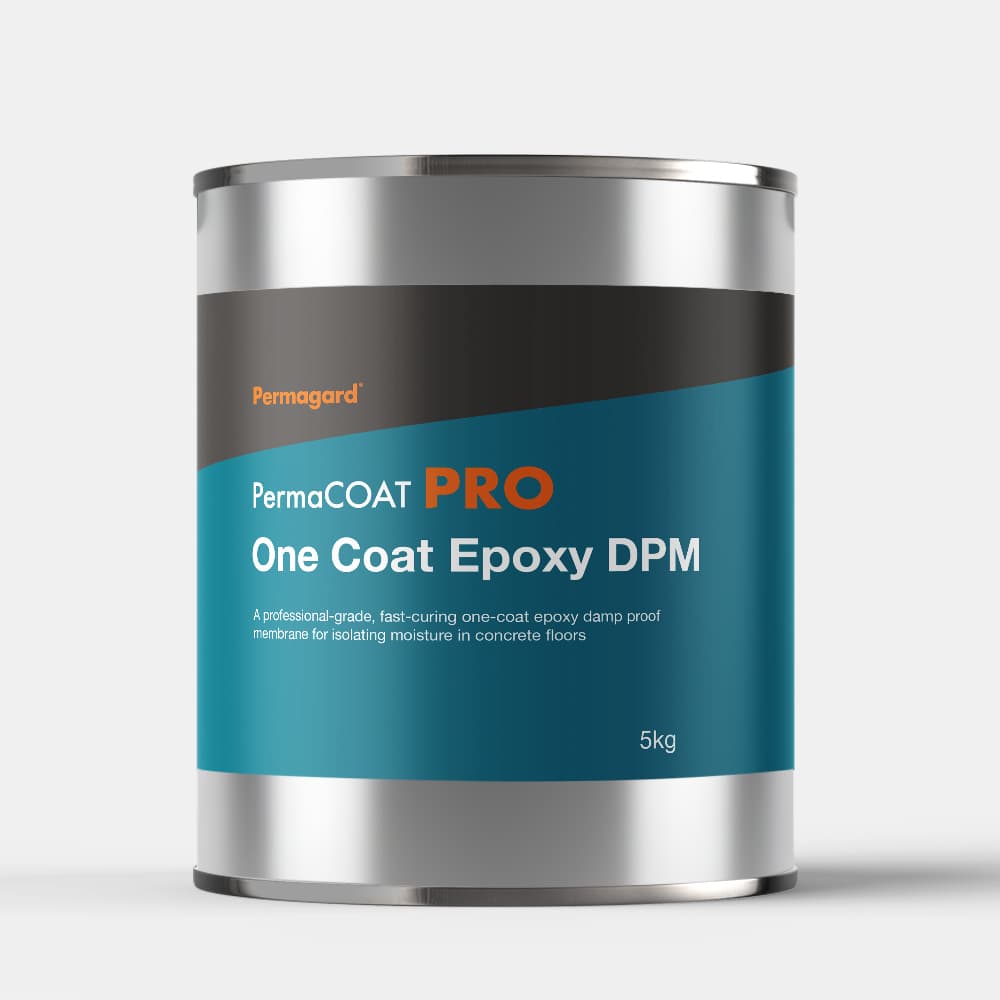
Spotlight on - Epoxy One Coat Epoxy DPM
Our PermaCOAT PRO One Coat Epoxy DPM is a high-performance, easy-to-apply epoxy DPM. It’s highly tolerant of damp substrates, requiring a single coat on surfaces with a hygrometer reading of up to and including 98% RH, with a second coat only required for readings exceeding this. It’s also fast curing (walkable within 4-6 hours at 20°C), so tiling or smoothing compounds can be added soon after laying - significantly speeding up projects.
How to prepare the surface before applying liquid epoxy DPM?
It’s important that you prepare your concrete surface before applying an epoxy DPM.
Start by removing all previous coatings and surface contaminants, especially any flooring adhesive and bitumen coatings. Remove any debris by vacuuming the area. The surface should also be free from any surface water before you apply the liquid damp proofing membrane.
Removing laitance
New concrete slabs and cement screeds are particularly prone to surface laitance. This is a weak, friable layer that appears on the surface after curing, which can range from fine dust to several millimetres thick or more. If this is not removed, the subsequent coatings have a considerable risk of failure. Shot blasting and grinding are effective ways of removing the laitance when vacuuming will not work.
Repairing cracks
Before applying an epoxy DPM, any cracks or surface defects should be repaired to create a sound, continuous substrate. This helps prevent weak points and ensures the membrane forms a consistent barrier.
For fine cracks, pinholes and small surface defects, use PermaCOAT Epoxy Crack Filler. This low-viscosity, high-strength resin flows into cracks and cures to form a non-shrink, water-impermeable seal with excellent adhesion to concrete.
For larger defects, broken areas or repairs requiring depth, use PermaCOAT Epoxy Repair Mortar. This high-strength, non-shrink mortar can be applied in thicker sections to rebuild damaged concrete and provide a durable, load-bearing surface.
Once repairs have cured, the surface can be overcoated with the epoxy DPM to create a continuous, sealed finish.
Priming
Priming the substrate helps seal the surface, fill pores and create a strong bond between the concrete and the epoxy DPM. Apply a suitable primer, such as PermaCOAT Epoxy Primer, to a clean, dry and well-prepared surface, ensuring it is worked thoroughly into the substrate for even coverage.
A properly applied primer improves adhesion, reduces the risk of delamination and helps achieve a more consistent finish. The epoxy DPM should then be applied within the recommended overcoating window to ensure a durable, long-lasting bond.
How do I apply an epoxy damp proof membrane?
Applying an epoxy DPM is relatively quick and straightforward, but you do need to follow the correct procedure to ensure it’s correctly installed. Standard epoxy DPMs typically require a minimum of two coats, with additional coats needed on floors with higher relative humidity. Here’s the process you should follow for our systems:
Mixing
We have two systems, PermaCOAT PRO One Coat Epoxy DPM and PermaCOAT Epoxy DPM.
To prepare our PermaCOAT PRO One Coat Epoxy DPM, mix the two components together with an electric mixer on slow speed for around 2 minutes, until the mixture is streak-free. The solution remains workable for around 20 minutes, dependent on temperature.
Our PermaCOAT Epoxy DPM is supplied as a multi-chamber bag. Lay the bag on a clean surface and pull away the rubber strip dividing the two sections. Mix the two components by kneading them together in the bag for at least 60 seconds, until a uniform resin is produced. Ensure the resin is uniform, with both colours evenly mixed and no streaks.
It’s important to note that once the mixing has started, the DPM must be laid onto concrete within 10-20 minutes.
Application
Once mixed, the epoxy can be applied using a roller or brush. On larger areas, a foam squeegee can be used to spread the epoxy before finishing with a roller. The substrate should be structurally sound and of sufficient strength.
The ambient temperature of the area shouldn’t drop below 10⁰C at any point during the application or curing process. Where possible, the ambient and substrate temperatures should be a minimum of 15⁰C but ideally 20⁰C.
Areas of the concrete which need multiple coats should be built up, allowing no less than 24 hours and not more than 48 hours between coats. The liquid DPM must be applied at the correct film thickness to ensure effective moisture suppression. Cross rolling is recommended to ensure even coverage and avoid pinholes.
Once dry, your floor will now be sealed and an optimum surface for your flooring or tiles.
Health & Safety
Remember to wear protective clothing, such as gloves and glasses, to protect your skin and eyes.
Permagard – Providing Solutions. Inspiring Confidence
For more information on applying liquid epoxy damp proof membranes, epoxy flooring membranes or other damp proofing products, contact us on 0117 982 3282 today. Our expert team is always happy to help and share their expertise.
For more information, read our guides on how to install epoxy flooring and damp proofing concrete floors.
FAQs
-
How long does liquid epoxy DPM take to dry?
-
PermaCOAT PRO One Coat Epoxy DPM generally requires just one coat. Final drying times depend on the intended use of the surface, but the following should be used as a general guideline:
- Light Traffic 24-48hrs
- Heavy Traffic 72 hours
- Full Chemical Cure Up to 7 days
-
Can you tile or lay other compounds over epoxy DPM?
-
You can, however, before tiling or adhering other coatings (including self-levelling compounds) on top of this, we advise you to bind the final coat of DPM with Quartz Aggregate 30 minutes after laying the coat to create a key.
-
Liquid Epoxy DPM vs sheet DPM
-
Sheet DPMs are sheets of membrane that are applied under a concrete layer to prevent the transference of moisture. They’re normally placed when the structure is built, but not all buildings, especially older buildings built before 1970, have them.
-
What tools do I need to lay an epoxy DPM?
-
To lay our PermaCOAT PRO One Coat Epoxy DPM, you’ll need an electric mixer to mix the two components together, a tray and a nylon roller or brush to apply it. We supply Harris Delta Epoxy Rollers, Harris Epoxy Roller Sleeves, Harris Extension Poles and Prestige Heavy Duty Roller Trays.


